Invitations
This page explains how to create restricted events that require an invitation to attend.
Restricting access to your event
To enable invitations:
- Open the edit page of your event.
- Select the Features » Invitations tab.
- Mark the This event requires an invitation checkbox.
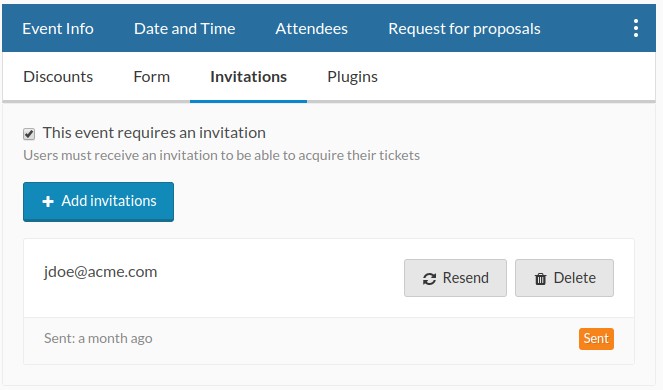
Once you mark the event as “invitation only”, the ticket purchase page gets locked and will require an invitation to proceed. Uncheck this checkbox to remove the restriction and open the event again to the public.
Creating and sending invitations
To send invitations, click the Add invitations button and fill out the form:
- E-mail addresses: The list of e-mail addresses that will receive a copy of the invitation, separated by commas.
- Message: The message to include with the invitation.
- Discount code: If specified, the ticket purchase link will automatically fill out the discount code.
- Expires: Optional expiration date for this invitation.
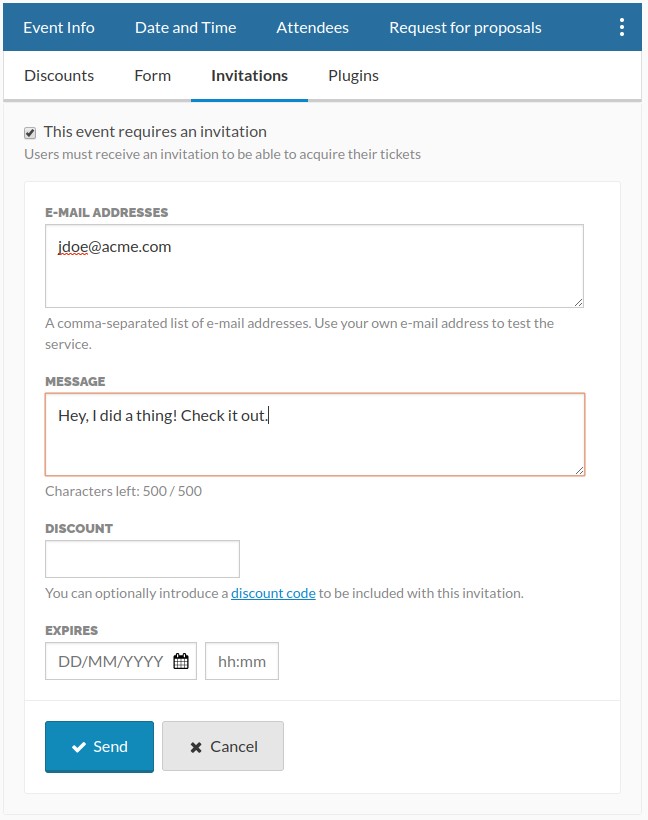
Click the Send button to send the invitations to the list of e-mail addresses. Each invitation includes a unique link to get tickets for this event. An invitation cannot be used more than once, and the server will mark it as consumed when the user completes the ticket purchase.
Anyone with a Koliseo account can use an invitation, as it is not tied to the original e-mail address that received it. When an invitation includes a discount code, the ticket purchase link will automatically introduce the discount code when clicked.
You can use the list in the Features » Invitations tab to check the status or re-send invitations. You can only delete an invitation if the user has not yet accepted it.