Ticket validation
You can validate tickets using the Koliseo Access Control for Android application, or download the list of tickets sold to validate manually. This page documents how to validate tickets during your event.
Install the app and get permissions
You can validate tickets at the entrance using Koliseo Access Control for Android. To get started:
-
Install Koliseo Access Control on one or more Android devices.
-
Sign into the app. At this time, the only authentication supported is using Google credentials.
-
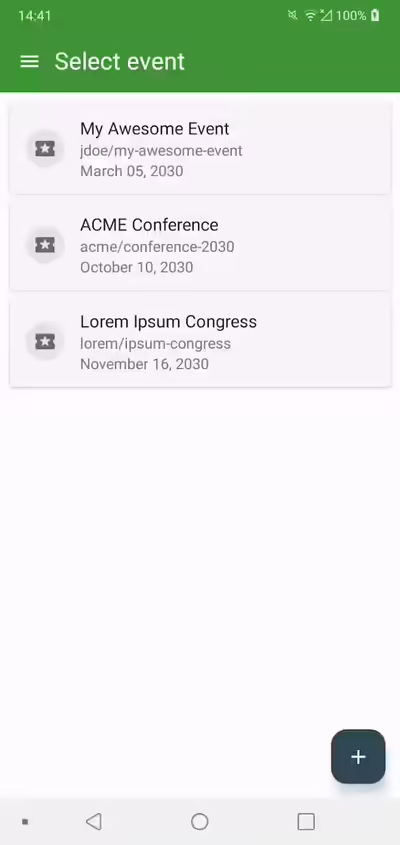
If your user already has permissions, you can select your event from the list that appears.
-
If your user has no permissions (or not on this particular event), go to the menu Preferences > My account, and show the QR code to someone with Administrator rights on the event. The administrator can grant access to the event to other users (see next section).

Assign permissions to other users
If you have Administrator permissions on the event, you can grant permissions to other users:
-
Open the app and select the event where you want to assign permissions.

-
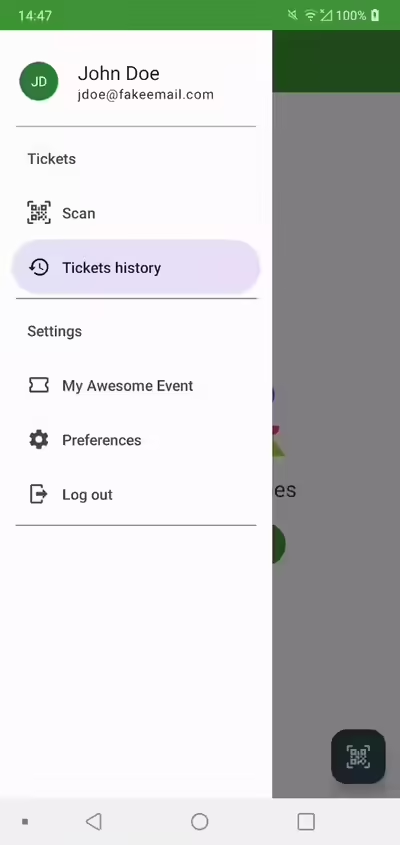
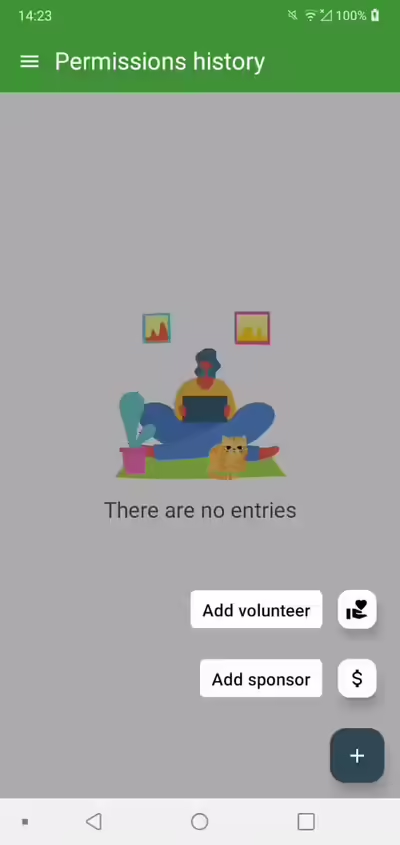
Open the Permissions History menu item, and click + in the bottom right corner. Two options should be displayed: Volunteer and Sponsor.

-
After choosing the desired role, scan the QR code of the user you want to grant permissions to (see previous section, Install the app and get permissions).
After scanning a QR code to assign permissions, you can choose to grant access to the specific user account or to one of the organizations that they belong to. When granted to an organization, the activity history is shared with other people, so that they can see (and download) the scanning activity of others.
If a user is granted permissions through an organization, it can be overwritten later by assigning permissions directly to their user account. In that case, the activity history will no longer be shared with the organization.
Once the permissions have been assigned, the user is ready to start scanning tickets.
Scan tickets
To scan tickets, click Scan Ticket and aim at the QR code with your mobile device. The app will make a distinctive sound and display the ticket information if the ticket is valid.
Right after scanning a ticket, the app will display the basic information of the ticket holder: name, email, avatar and ticket class. Additionally, if the ticket is associated to any answers to event questions, they will be displayed as well. Users validated as sponsors will only see any answers to questions marked as “shared with third parties”. The volunteers will additionally see answers to questions marked as “access control”.
For more details about sharing attendee information with sponsors, see the Privacy Policy.
Offline validation
Once logged in, the Android application does not require a connection to the Internet to validate tickets. If there is a connection, all logged in devices will synchronize the ticket information in real time. Any tickets validated while offline will be synchronized the next time it gets online.
When validating tickets offline, the information window may not include any answers or user avatar, but it will check that the ticket is valid. Remember to open the application while connected to the Internet at least once before the event takes place, so that the application can download the list of tickets. Keep in mind that multiple offline devices may find the same ticket valid if they cannot synchronize over the Internet.
Tickets do not have to be printed to be recognized by the app, but you may need to adjust the brightness of the device displaying it.
If the user has “Volunteer” permissions, they can check the same ticket again to undo a scan. This is useful if the user accidentally scanned a ticket that was not supposed to be scanned.
Tickets can also be manually entered in the app, in case the QR code is not readable. To do this, click the button with a keyboard icon to enter the ticket number. The app autocompletes ticket numbers for volunteers, but sponsors will need to enter the complete ticket number.
Download the activity history
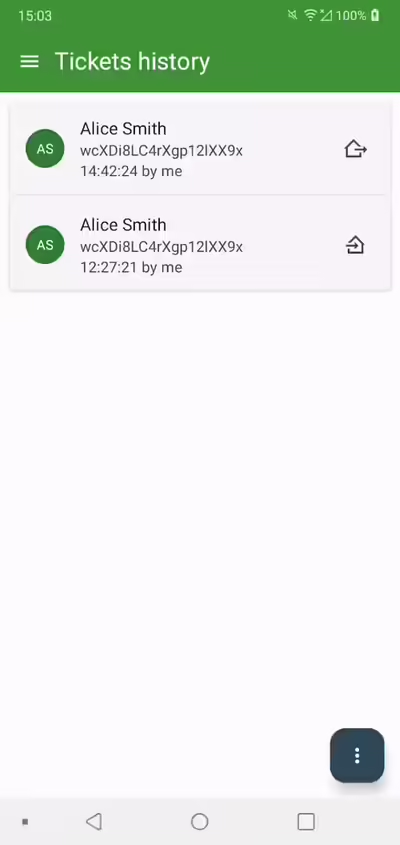
To download the list of tickets scanned by the current user or organization, you can select the Tickets History menu item. On this screen, a button in the bottom right corner provides two options: Scan a new ticket or Download the activity history. After selecting the later, a CSV file will be generated and directed to the Android share menu, so it can be sent by e-mail, WhatsApp, uploaded to Google Drive, etc.

Manual validation
You can download the list of tickets sold from the web page:
- Log into the system
- In the sidebar menu, select Events and click on the name of your event to open the event management page.
- On the sidebar menu, select Tickets Sold.
- Click Download as CSV.
- Open the file with your preferred spreadsheet application selecting Format CSV, Separator: commas and Encoding: UTF-8.
